The road to Worthersee in a Volkswagen Lupo - the wheels go on
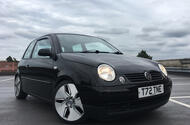 The real transformation begins as the Volvo wheels go on. It's not as easy as it first seems, though...
The Lupo is one of the biggest causes of stress in my life right now. There, I said it.
It’s the wheels, mainly. Find below the heavily abridged process. Abridged because “those bloody wheels”, as they became known, were a soul-destroying, heartbreaking saga. With a happy ending, at least.
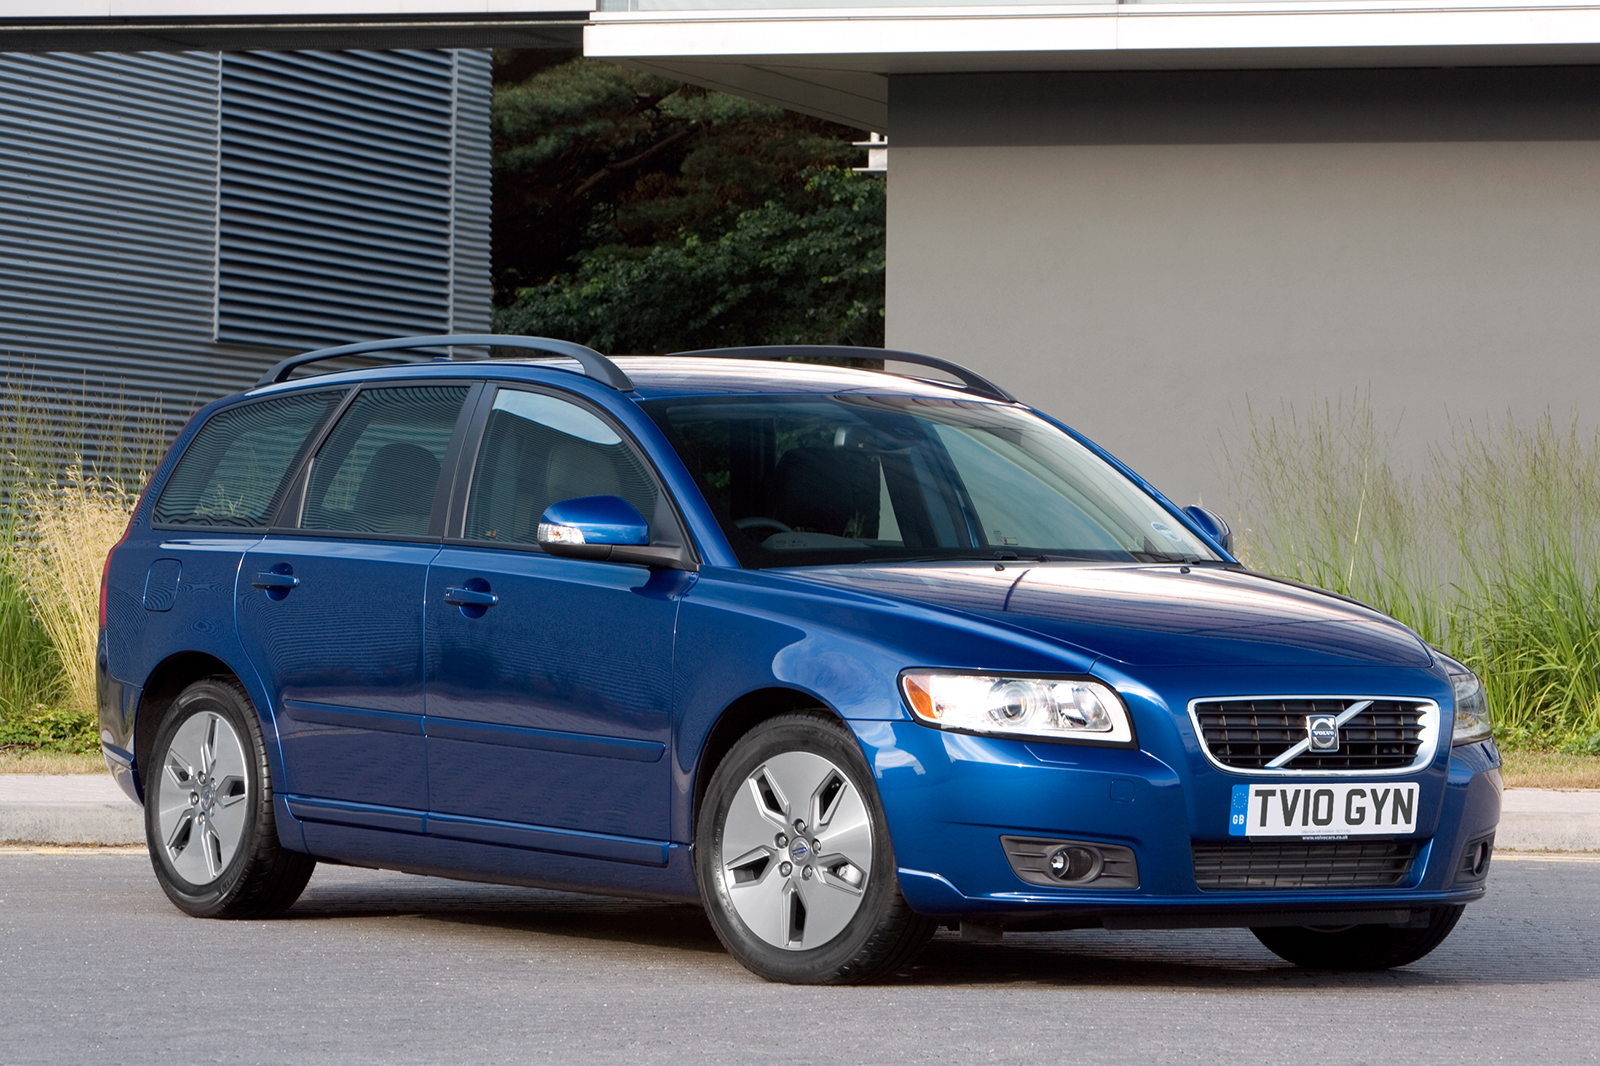
See, I didn’t choose wheels that would be easy to fit. I chose Volvo Libra wheels; aluminium wheels from the C30, S40 and V50 DrivE models from a few years back. Not matching the Lupo’s 4x100 bolt pattern whatsoever, I might add, being of 5x10⁸ pattern. Adapters were needed, as were tyres.
Adapters were easy to find; the forums helped me find a company in Bulgaria that makes custom adapters for obscure wheel combinations. Translation issues aside, these arrived within a reasonable time – although without the correct bolts.
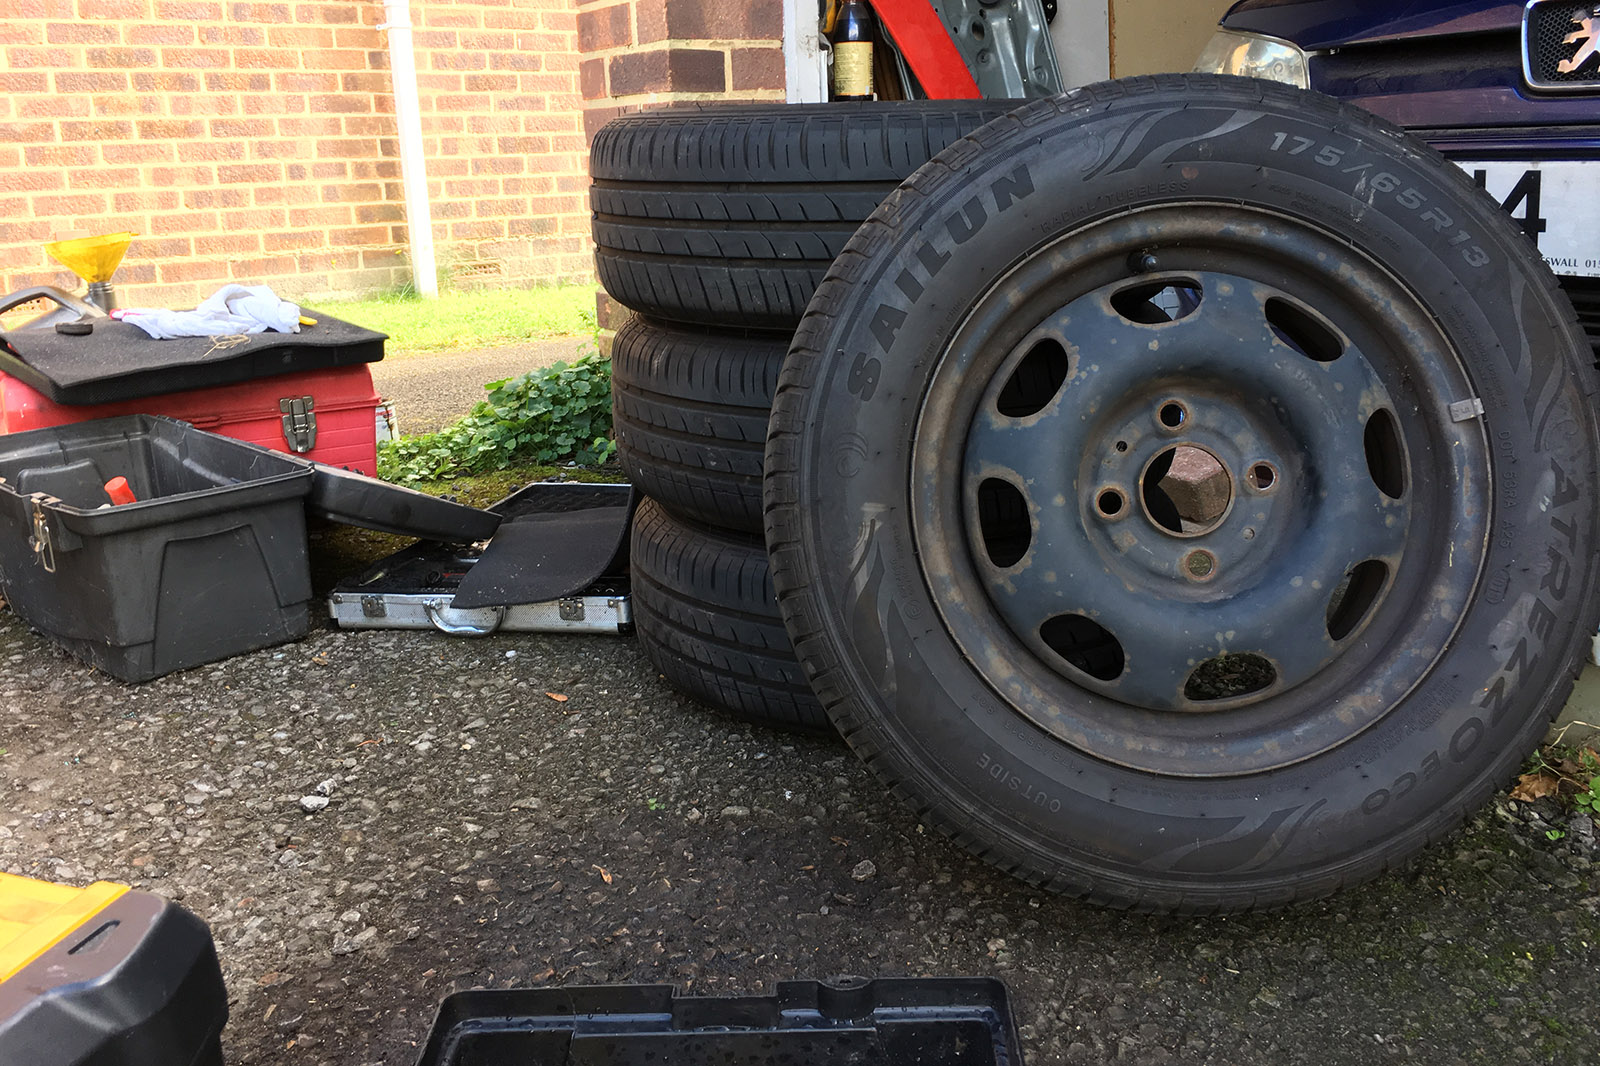
Bolts sourced (after a lot of searching, stress and next-day delivery charges), the tyres took even more research. Lupo wheels are quite small. Volvo wheels are quite big. Although the Libras are only 16in, they were shod with high-profile, 205/55 R16 tyres - far, far too big for the Lupo.
Not wanting scuffing, I needed a tyre that would fit both the wheel and the Lupo. Luckily, Falken makes such a tyre - the Ziex ZE914 - and better still, they needed only a very small stretch to fit the wheels. They should be a fair bit grippier than the skinny economy tyres from before, too.
Stretching can be carried out when it is safe to do so, but should always adhere to manufacturers’ guidelines. My Falken ZE914s can fit a rim of up to 8in wide, and the Libra wheels are 6.5in. So I had them fitted to the wheels. Falken is one of the few tyre manufacturers that specifies an appropriate stretch size.
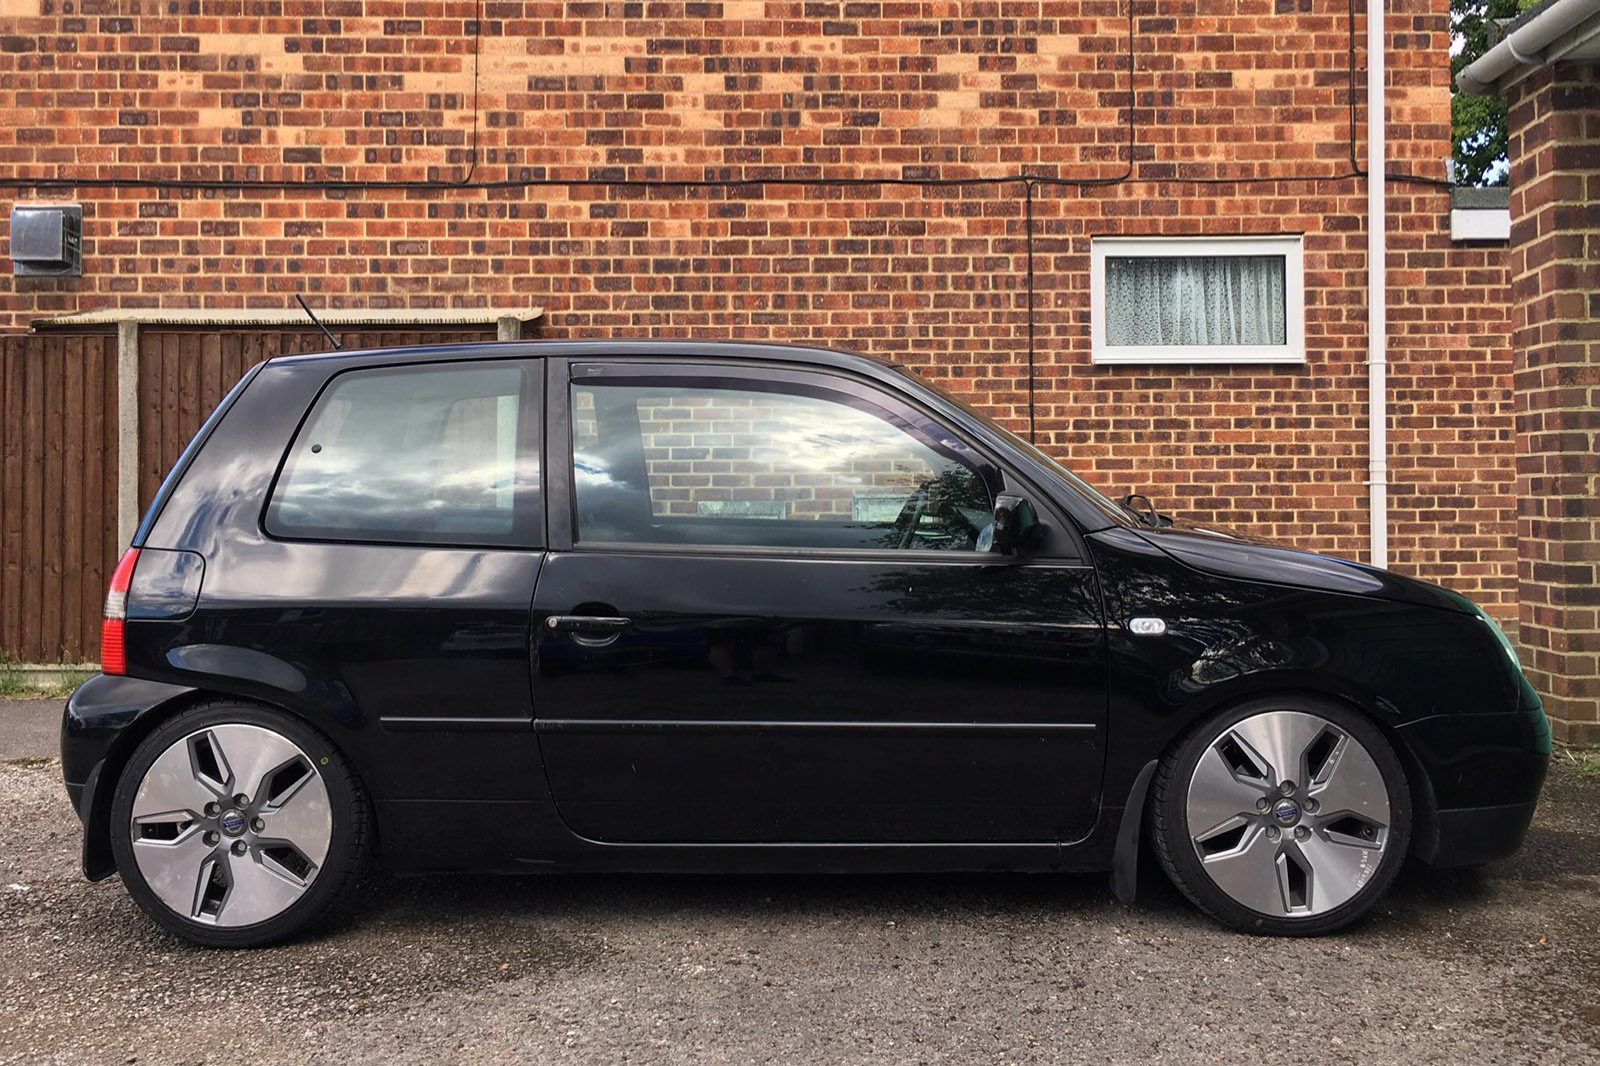
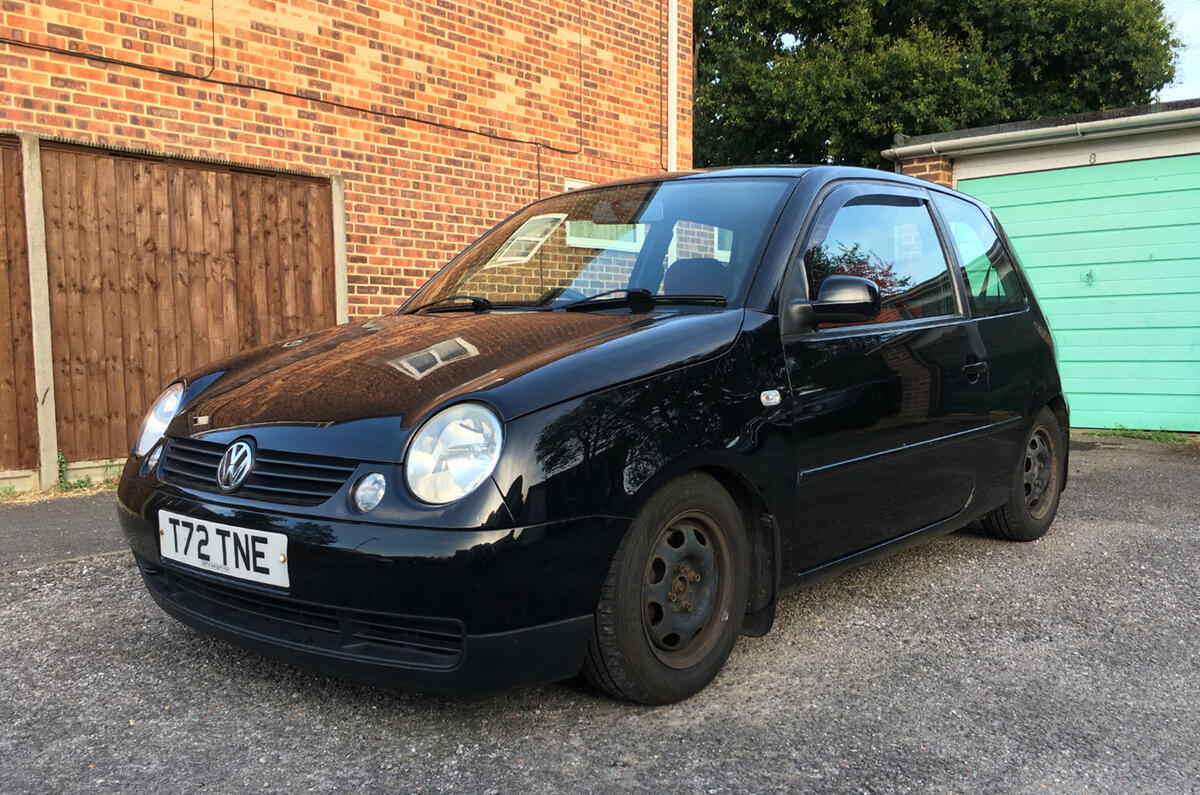
After weeks of research and confusion, the wheels were on. And they caused a horrendous row when the car was in motion. More forum consultation led me to believe that the bolts holding the adapters to the hubs were too long and that grinding a little off the end of each would sort the problem. Bingo. That, and adjusting the coilovers to make the car sit around 3mm higher, and the noises were gone.
Once again, the modification won’t be to everyone’s taste, but I’m more than pleased with the Lupo's new look, especially now I have some original centre caps to tie it all together. Much better than rusty steel wheels which it arrived with. They even have the Cropley seal of approval.
The downside, then? I’m still a bit timid with the set-up. Scared of hearing a pop, ping or crunch when taking corners quicker than pre-lowering and re-wheeling, my pace become a bit more pedestrian. I’m gradually regaining my confidence, though, and it gets more and more rewarding as I do.
7 September 2017 - The road to Wörthersee - lowering on coilovers
Progress has been almost painfully slow with the Lupo, but there’s been progress nonetheless.
The first task was sorting out the car’s ride height. It was embarrassingly high, and made the car look a bit gawky and tall, so coilovers were my first stop.
A friend’s dad - a former McLaren Formula 1 engineer, advised me that many of the setups on the market would be too stiff, and could end up doing more damage to the car than good, so it was back to the forums to see what other people had found helpful.
There’s a bewilderingly wide selection of coilover kits on the market, for pretty much any budget. Cheaper systems tend to be either stiffer riding or suffer from corrosion or other problems over time, so already I was looking at something mid-to-high-end.
KW’s coilovers came to the fore as having the best mix of a pliable but sporty ride, with decent adjustment options - both height and stiffness on higher-end models - and a good reputation. With my heart set on doing things properly and my mind made up, I got a set. I chose the brand's Variant 1 setup, for the best blend of performance, without going overboard on one single item.
Installation, on a better condition and/or newer car, would have been fairly easy for someone with a middling level of oily-bits knowledge; and for the most part, it proved so with the conscription of my more experienced other half; a few bolts came off, the old damper and spring popped out, a few bolts went on and one corner was done. KW's instructions, although brief, were perfectly followable.
The main snag was a couple of threaded bolts which needed to be destroyed to release the old dampers. A trip to the local salvage yard with a reassuring (and also concerning) influx of Lupos provided the needed replacements and we were soon back under way.
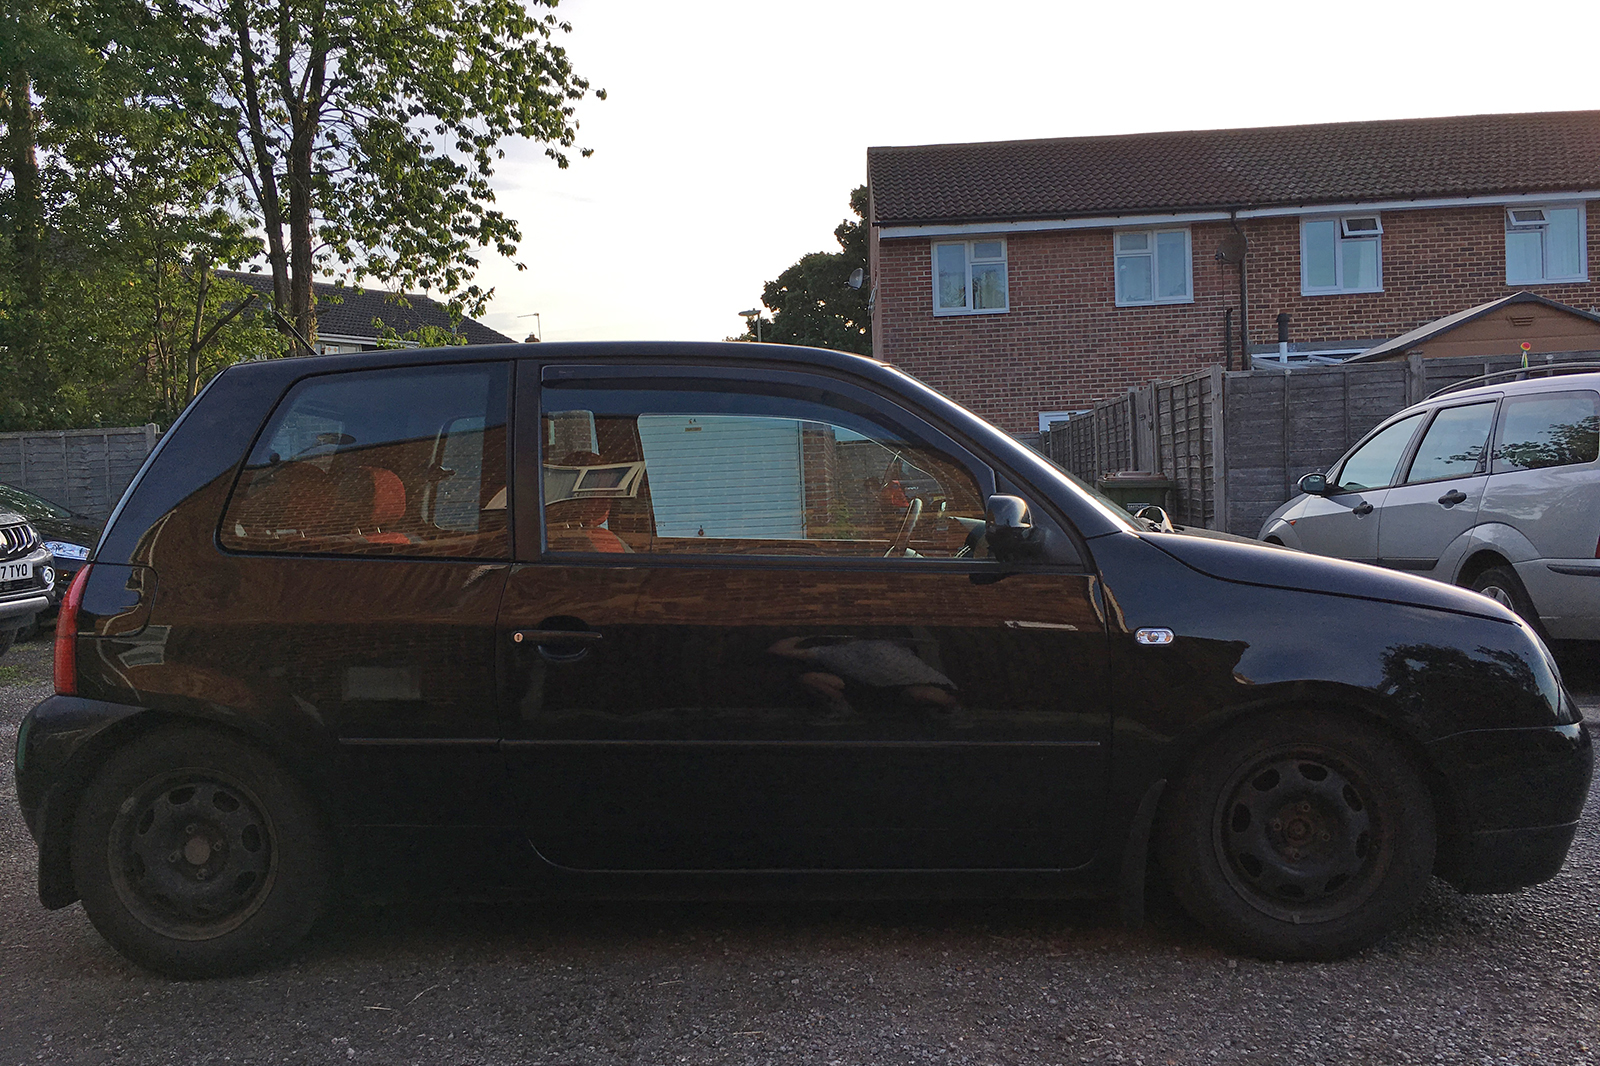
Three corners, a lot of elbow grease and most of the day later, the job was done. Well, 95% done. After a test drive to check that everything was well, the height needed adjusting.
Wheels off, KW adjusting tool out, a few screws later and the Lupo was sitting low, and its ride was completely transformed.
Where before the Lupo lolloped around corners and pitched in bends like a tiny stricken oil tanker, it’s now fairly firm and far more sporty. I wouldn’t say the ride is too firm, but I certainly wouldn’t twist the firmness adjustor on the dampers; it’s currently at its softest setting.
This was the first ‘big job’ to be done on the Lupo, and it’s paved the way for the next; wheels. Remember when I said that it would be a doddle? How wrong I was, but more on that next time.
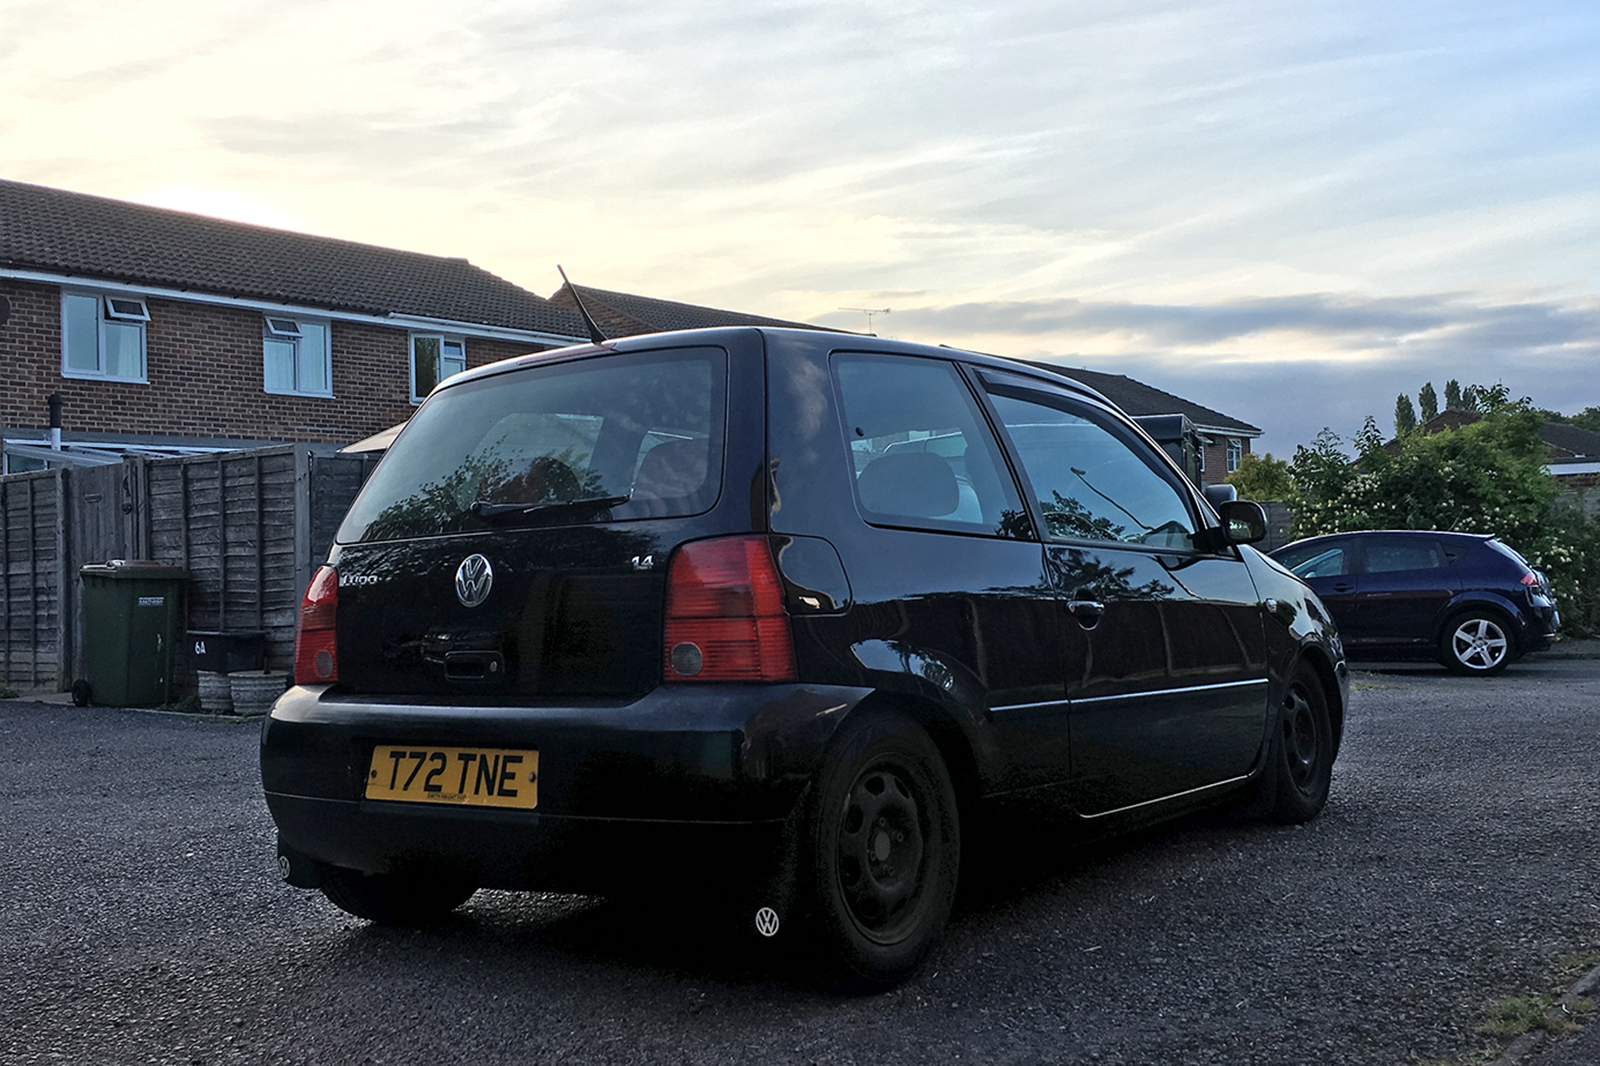
7 July 2017 - The road to Wörthersee - work begins
Small tweaks on our £300 Volkswagen Lupo are practice for meatier jobs to come
If you've been paying attention, you'll have seen that I'm now the owner of my first car; a Volkswagen Lupo. I bought it about six weeks ago for £300, with a view to making a few tweaks, and showing it off at next year's Wörthersee event (which celebrates all things Volkswagen Group) in Germany.
Well, the honeymoon period with the Volkswagen Lupo is over. Not with the clichéd bump and resentment that follows, but work has begun on more ambitious projects; of course with help from a far more mechanically experienced partner.
Project 1: The touchscreen
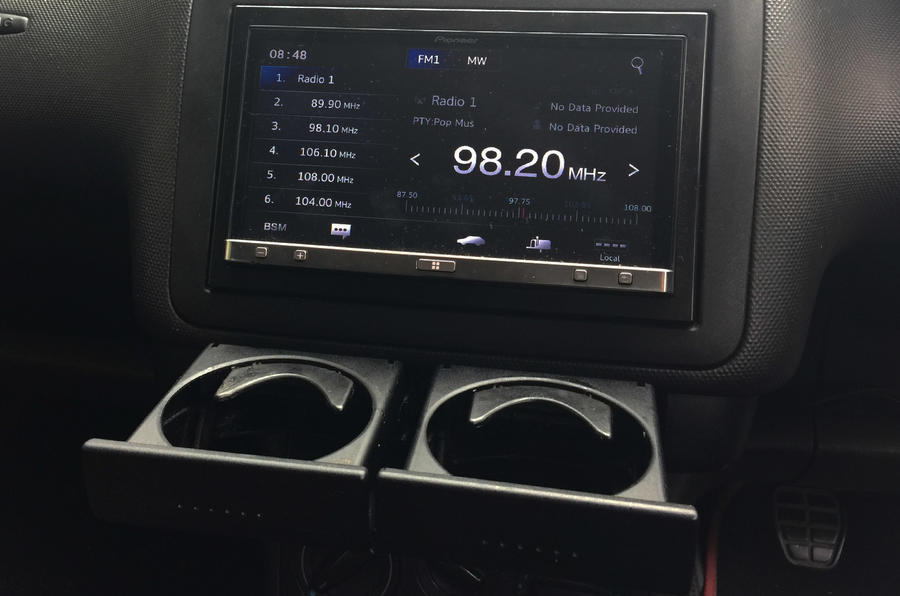
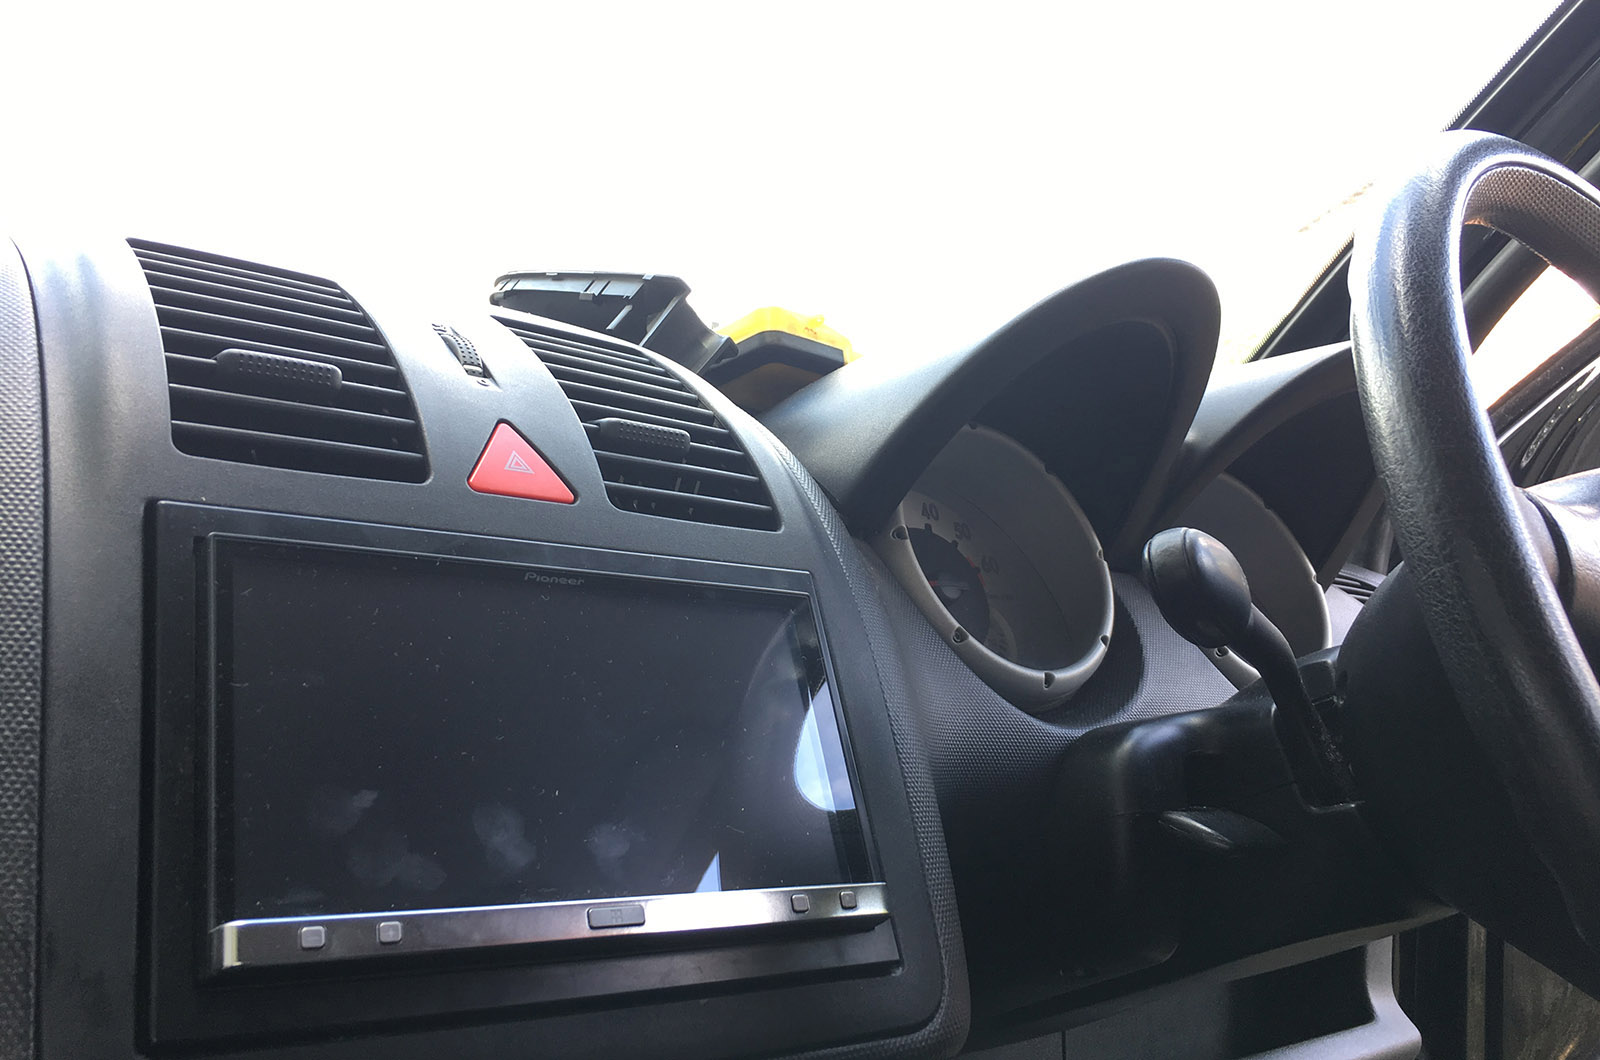
First was the installation of a modern, double-din head unit. No tape deck and CD changer here; we've gone for a full touchscreen with sat-nav integrated.
Unfortunately, I’m picky and encountered a problem: my Lupo, an early, pre-update version, had the cupholder and coin tray module integrated into the lower half of the double-din radio space.
That won’t do; I want to keep my cupholders, so I’ve upgraded to the later dashboard, which involved a new middle dash and handbrake surround - big pieces that, fortunately, didn’t cost much from a salvage yard.
After trimming away some of the lower dashboard to allow the backs of the cupholder modules to fit, the new dash was screwed into place, looking factory-fit.
Project 2: The horn
Next was an arguably simpler task: replacing the Lupo’s rather wimpy single-tone factory horn.
Salvage yards are tricky places; there’s no guarantee that any electrical parts you buy will work, and the horn upgrade took three separate trips to complete and parts from three different cars, using trial and error to replace a broken low-tone horn.
But now I have a complete, loud horn, with a four separate tones. The sound they make together is one of quite magnificent charisma, volume and obnoxiousness. Woe betide the next person to cut me up.
The next projects: Suspension, wheels and interior
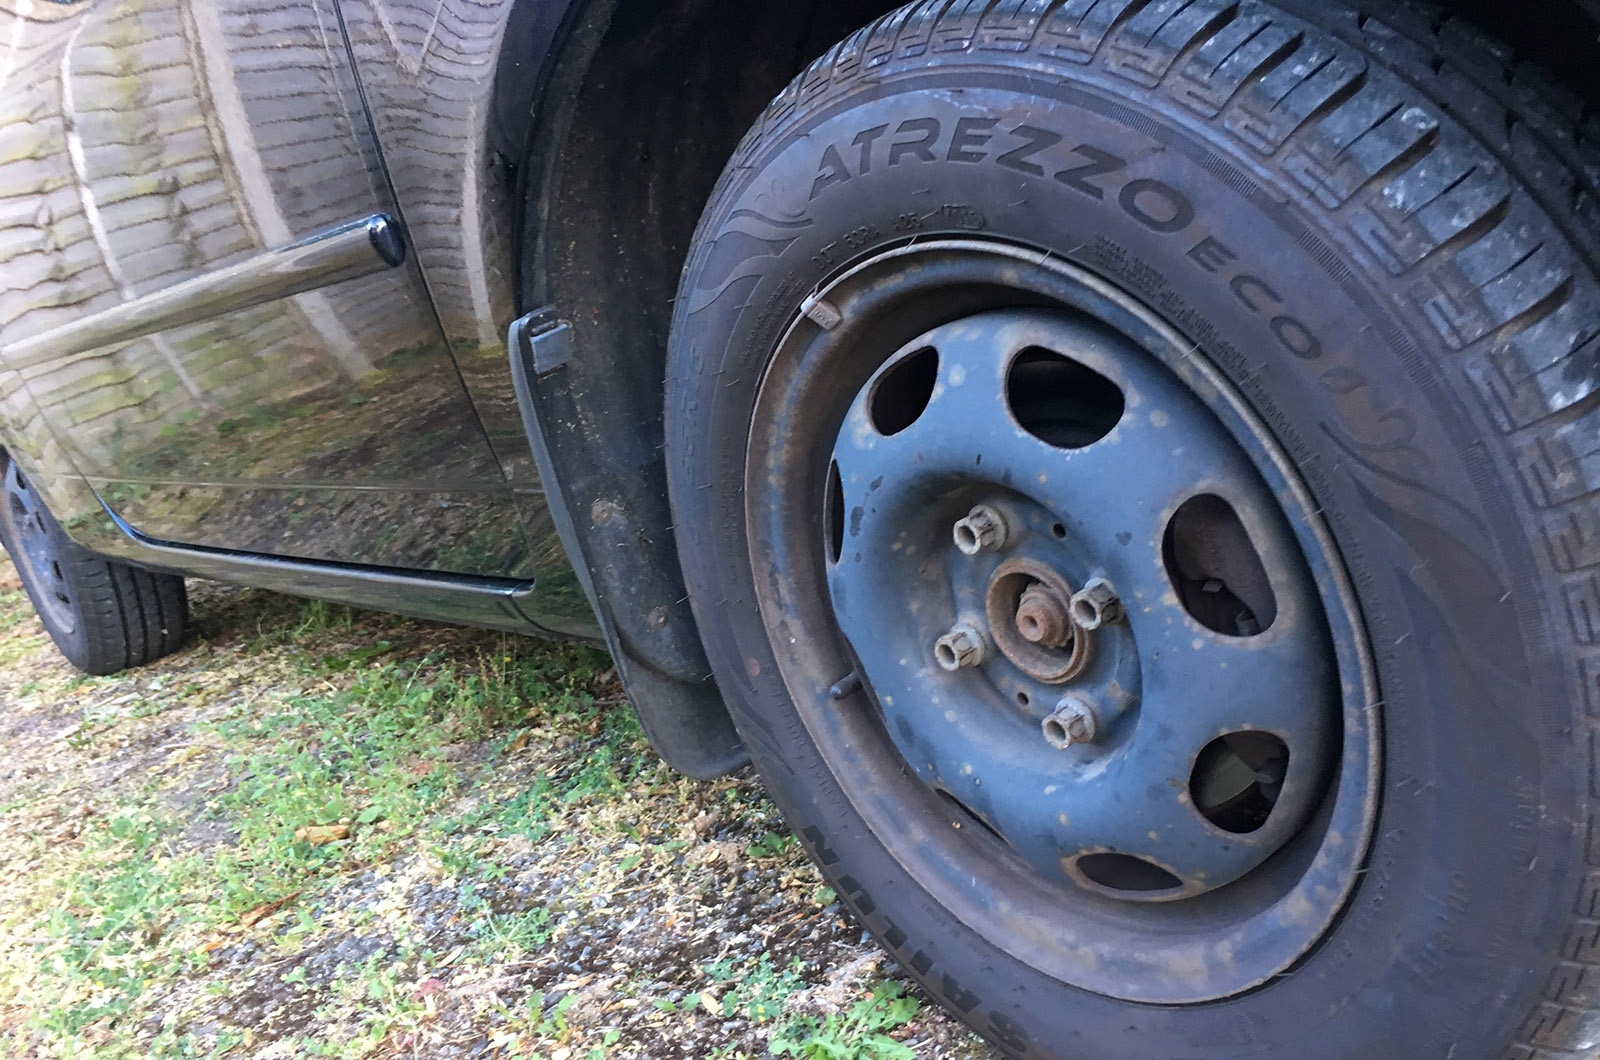
So, I’m semi-prepared for the larger project of replacing the suspension and sorting that rolly-poly ride and gawky height, without turning my lollopy Lupo into a bone-shaker.
After some thorough research, I’ve discovered that German suspension company KW’s coilovers are renowned as capable of exactly that, but at a cost.
Fitting those will be next, followed by some arch-filling new wheels. I know exactly the set to do it, but I'll need hub adapters to do it; in true Wörthersee form, I’m borrowing wheels from another marque. They’ll be a doddle to fit but have to be done right, lest vibration occurs.
Following these, it’ll be time to fit some more supportive seats. The rest of my plans depend on the budget used by these bits, as well as the timeframe. With six weeks of my 52-week timeframe used, it's definitely a race against the clock, considering the amount of work to be done. Luckily, the forums are always there to make sure I’m not making any grave errors.
It's surprising how big an online community - and a friendly, helpful community at that - surrounds the Lupo. These forums might be a priceless resource in the not too distant future and are a must-visit for anyone going into a similar project.
9 Jun 2017 - Can you buy a good car for £300?
Jimi's first foray into car ownership took him near to the bottom of the used car market. Meet the new love of his life: a Volkswagen Lupo
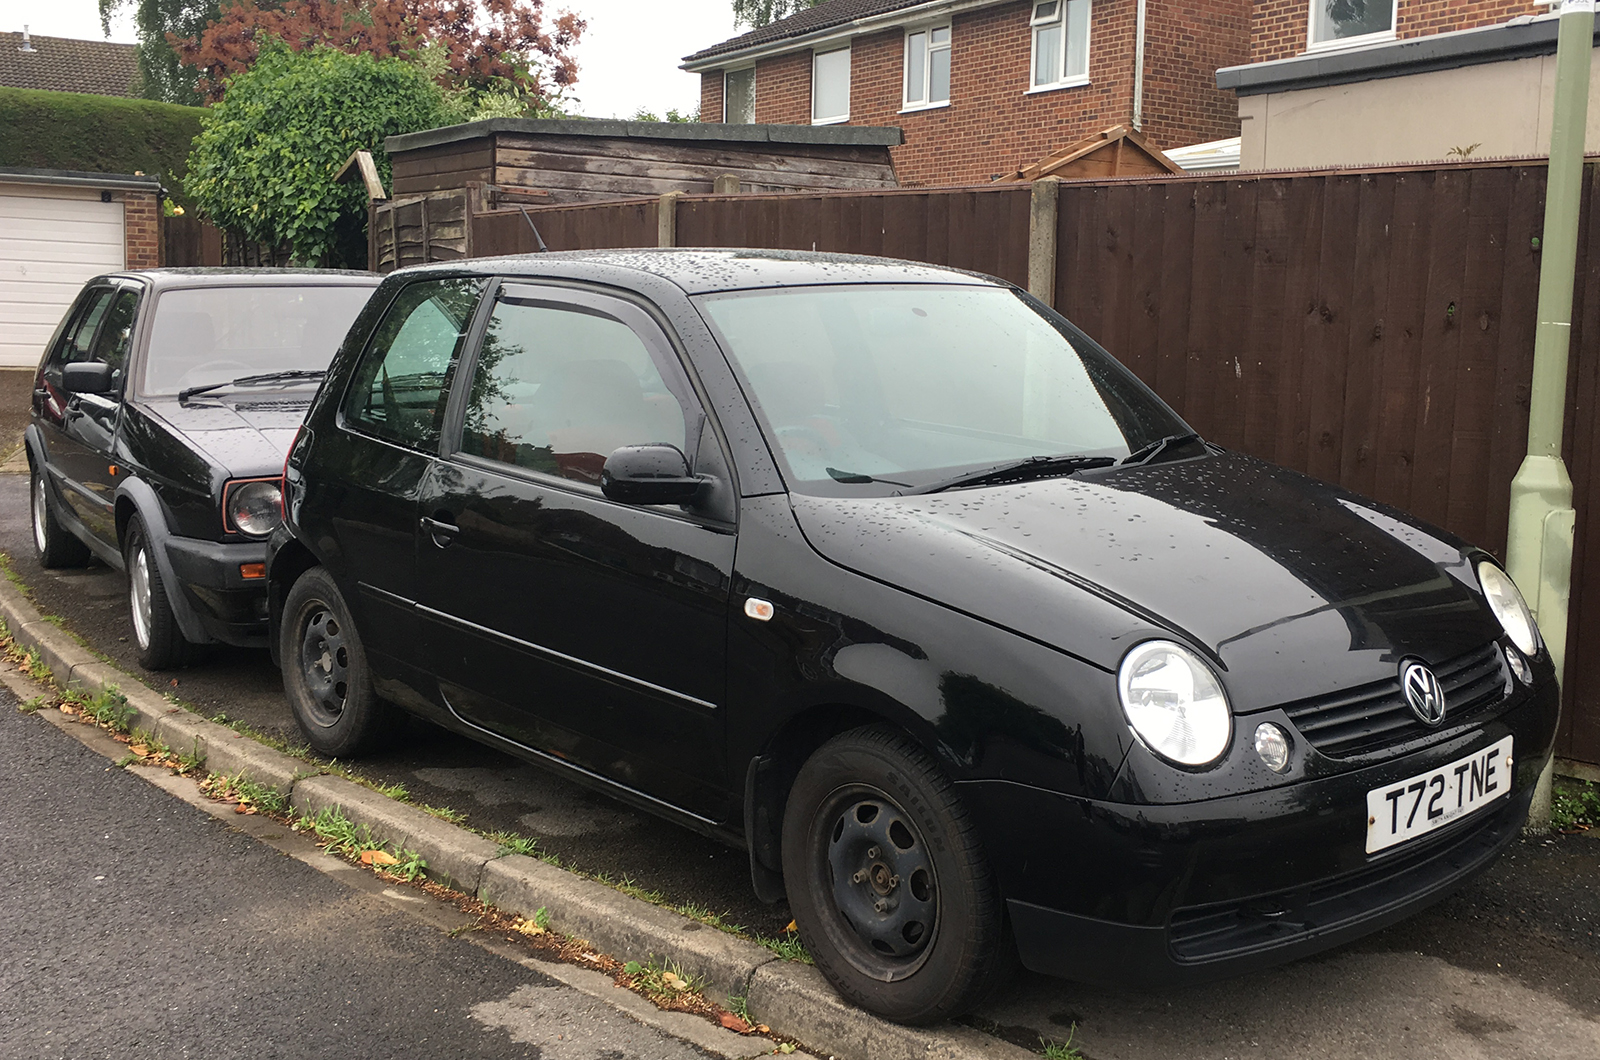
I’m in love.
I’ve bought a 1999 (T-reg) Volkswagen Lupo and - believe it or not - it’s the first ever car where my name is on the V5. Before I had shared ownership with family members.
By all accounts it should be a heap. I paid around £320 for it, and the car has no service history from 2007 onwards - more than half of its life - and it’s got a dent or two. But the dents will polish out. Maybe.
It’s really anything but a heap, though. For a basic car dating from the end of the Nineties it’s not hugely equipped, but it’s got electric windows, central locking, only a couple of insignificant electrical niggles, a very sound engine which starts first time, and enough gumption to get it to Southampton from Cannock without so much as a grumble or wisp of steam. Yes, I had to travel a fair distance to collect it, but that's small beer.
So what’s the plan? I’m going to pour money into it, of course. I’ve always loved the Lupo - it’s got a sort of subtle cheekiness to it, without being overtly camp like a Mini or Fiat 500, or bland like its sibling, the Seat Arosa. I already know it’s got bucketloads of handling potential - the steering is light but sharp and direct, the engine pulls well and if the brakes were a bit (or a lot) quicker, it’d be a genuinely entertaining car to drive.
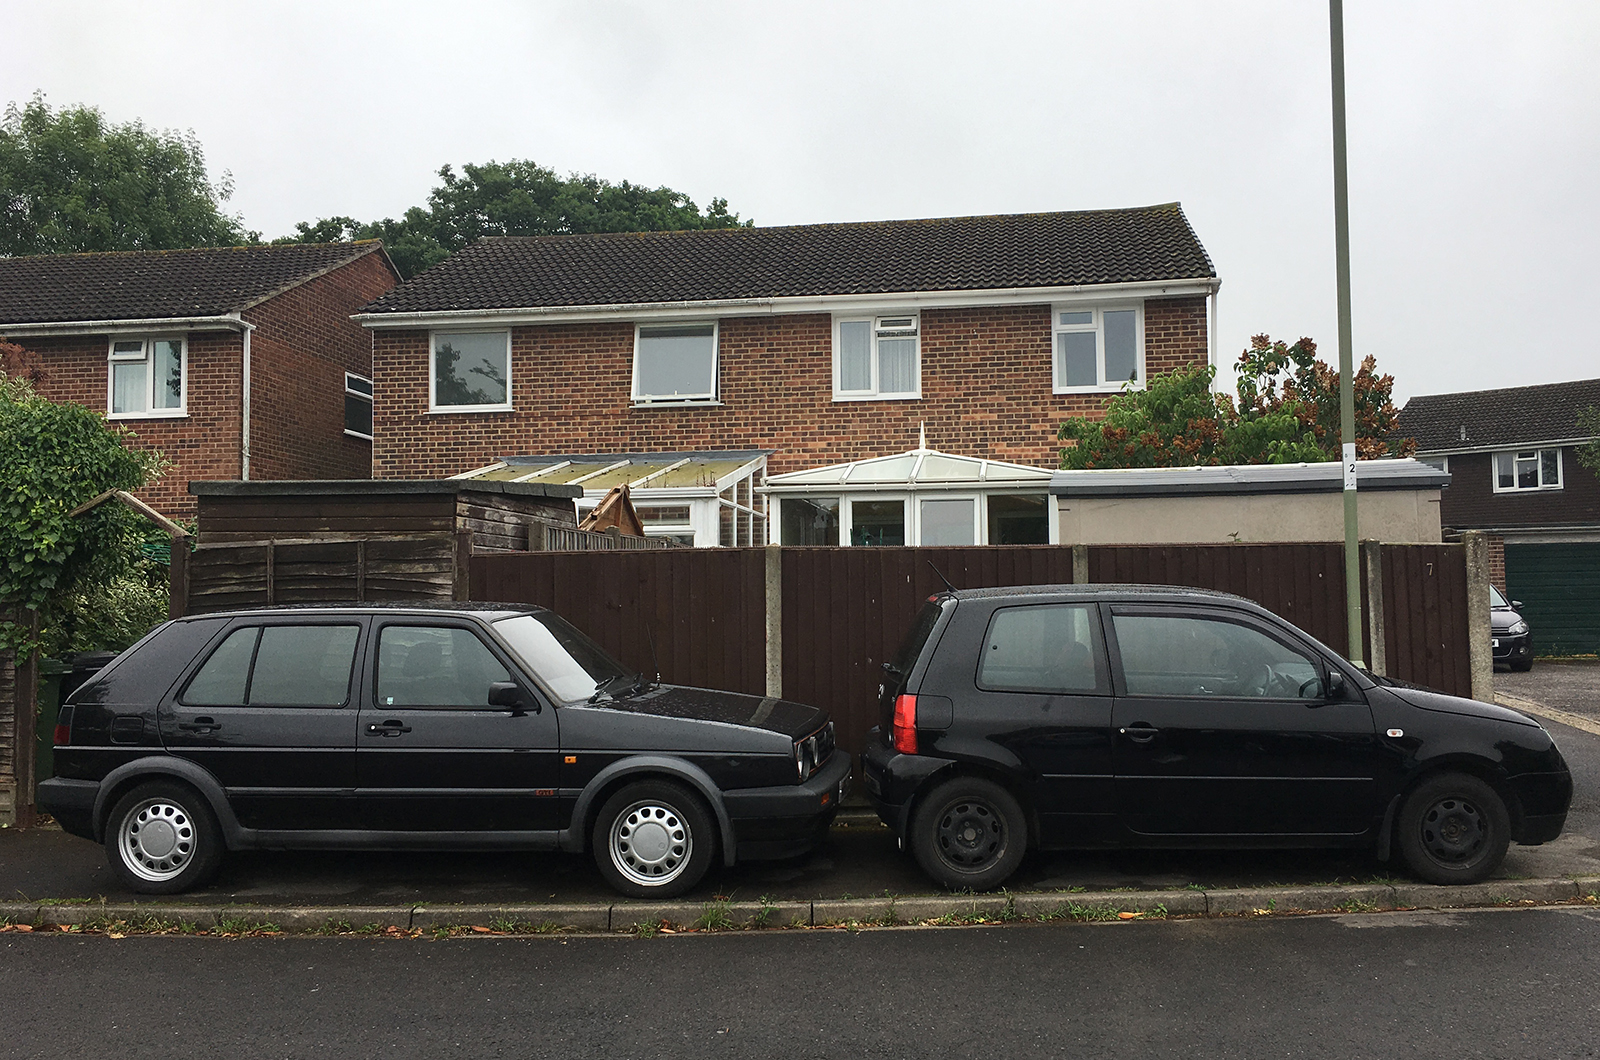
The ultimate goal is to get it to Wörthersee next year, but I’ll settle for just getting it to a pristine fit and finish on the outside and smart enough on the inside for me to find it comfortable, with a few mechanical upgrades to make it more exciting and engaging. That’ll involve a few modifications, most notably suspension upgrades to sort out the hilariously rolly cornering, perhaps a few aesthetic bits to add an edge to its decidedly cutesy look, and a ton of polishing, perfecting and fixing. Someone’s already suggested lumping in the original Audi R8’s 4.2-litre V8, but let’s stick to the realms of possibility.
What next then? There’s a fair bit of tinkering to get done before I get to modifying: a door checkstrap has already been fixed, a filthy headliner replaced with a fresh (ish) new one from a scrapped Lupo and the rear wiper and motor reinstalled. It’s cost me £30 for the replacement parts, but a big garage job of replacing the cam belt and water pump - rather essential on a car you don’t have a service history for - will no doubt take a larger chunk of cash.
I'll let you know how I get on here in the coming months.
1999 Volkswagen Lupo 1.4 S
Price £320 (plus half a tank of fuel)
Faults Passenger checkstrap knocking, dirty headliner, two dents, needs cambelt and water pump, could do with a wash
New parts New headliner, checkstrap replacement, new rear wiper and engine
Verdict so far Abundant charm, tempered by an underlying fear that bargain basement price will come back to haunt me. But enormously encouraged by sprightly handling
Comments
Post a Comment